
Welcome to the world of hydroponics, where innovative gardening techniques enable us to grow plants without soil. If you're passionate about cultivating vining crops like tomatoes and cucumbers, the Dutch Bucket hydroponics system is your ticket to a thriving and productive garden. In this comprehensive guide, we will explore the contents of a Dutch Bucket hydroponics kit and provide you with step-by-step instructions on setting up and utilizing this system to its full potential. Get ready to unlock the secrets of hydroponic gardening and discover how you can grow robust, healthy, and delicious vining crops in your own home or garden. Let's dive in!
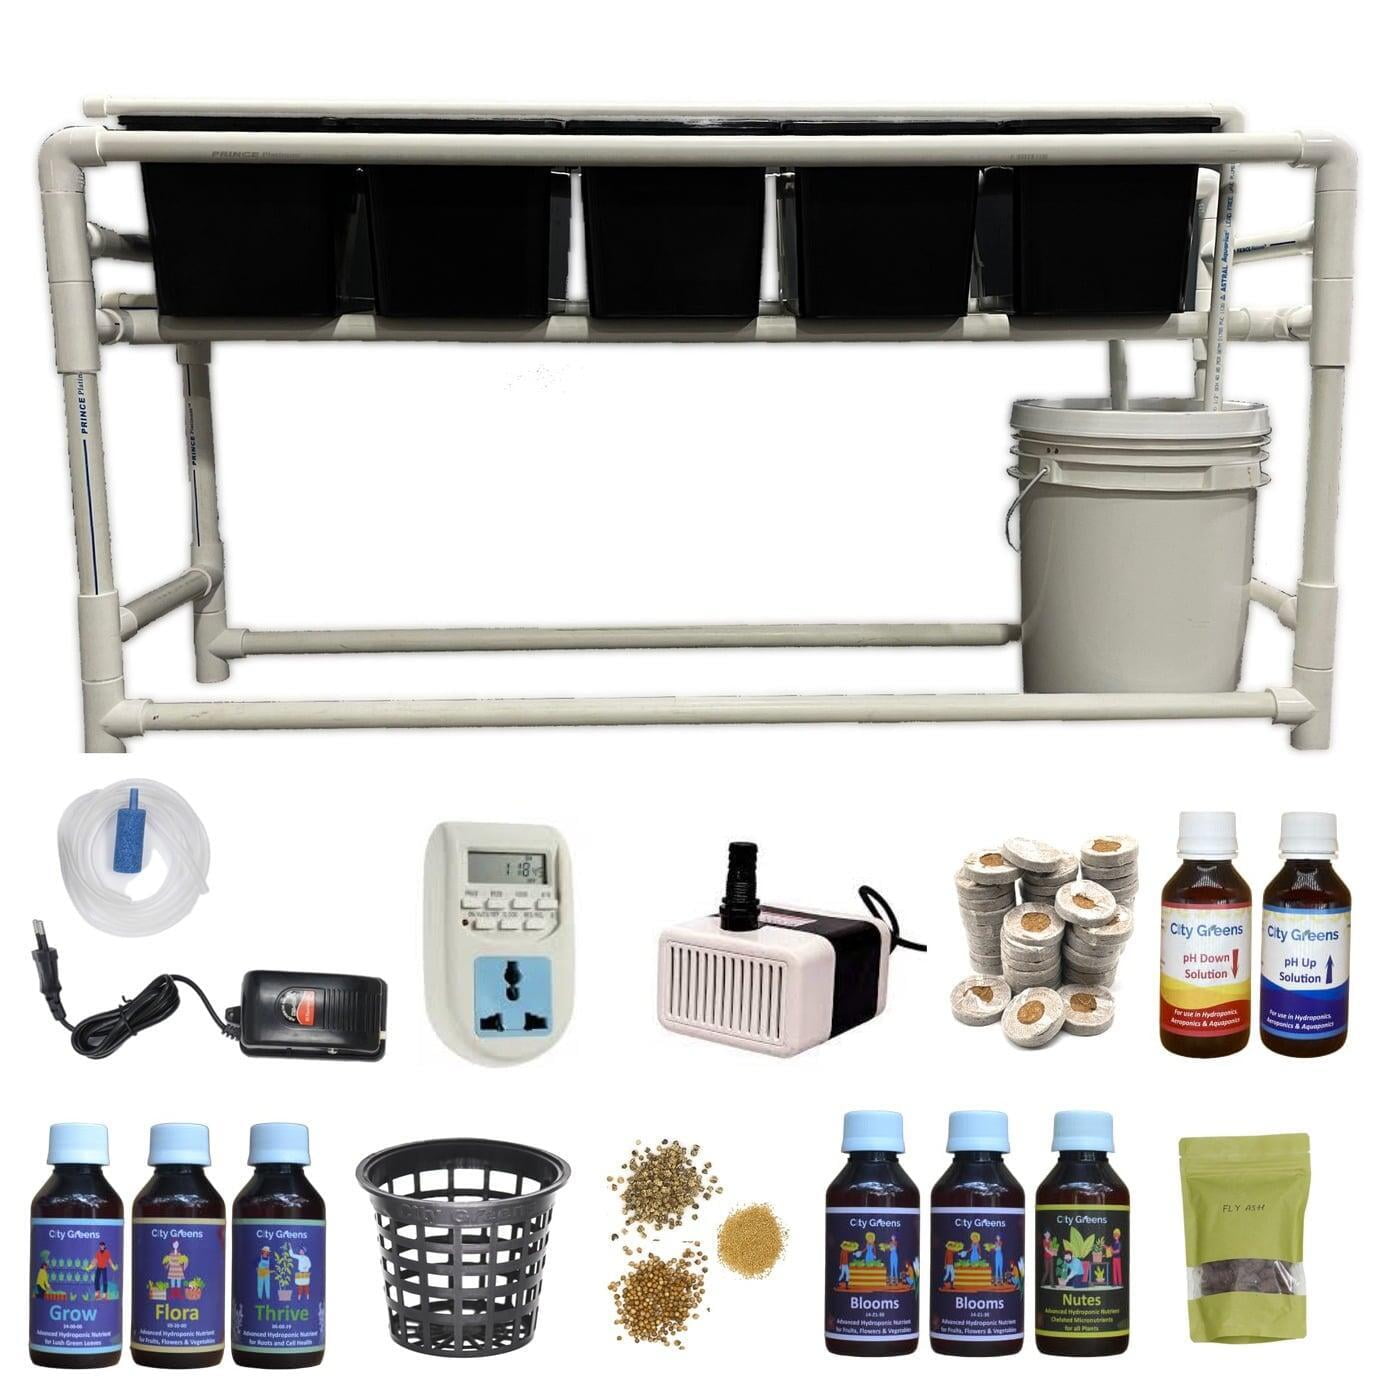
What are the contents of this Dutch Bucket hydroponics kit?
- Dutch Buckets
- Plumbing pipes and connections
- Reservoir (Nutrient tank)
- Submersible pump
- Digital timer
- Air pump with air stone
- Food-safe net pots (3 inch)
- Fly-ash leca
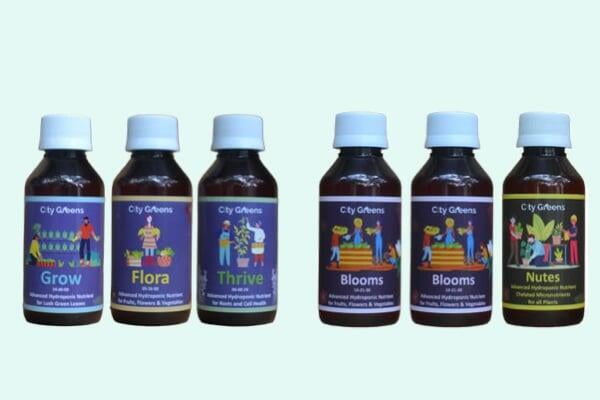
- Hydroponic nutrients (Grow, Flora, Thrive, Blooms, & Nutes)
- Seeds
- Seed germination plugs
- pH Up & pH Down
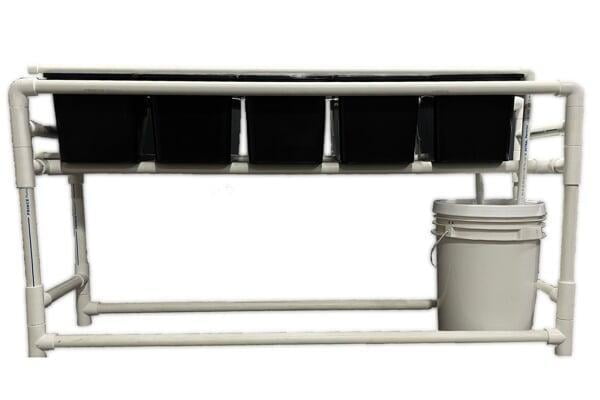
1. How to Assemble this Dutch Bucket Kit?
- Use one-inch pipes, and connections to make the stand and then place all the buckets on it.
- Place the submersible pump in the reservoir tank and connect the pump to the plumbing pipe with a valve, that supplies water into the Dutch Buckets.
- Insert the pipe from the valve into the reservoir lid and then connect it to the supply line. Complete the connections by fixing the drain line.
- Bring an electrical board near the kit with at least two sockets.
- Connect the submersible pump's power plug to the timer and then fix the timer into the power socket. (the timer runs the pump at programmed times)
- Insert the transparent air tube into the reservoir through the lid. Attach the air stone to this end of the tube.
- Attach the other end of the tube to the air pump. Place the air pump outside this set up in a dry area and connect the plug to the power source.
2. How to Start Growing Plants
There are 4 simple steps involved in growing plants from seeds. Seed germination, Hardening the sapling, Transplanting, Monitoring & Maintenance.
a. Seed Germination
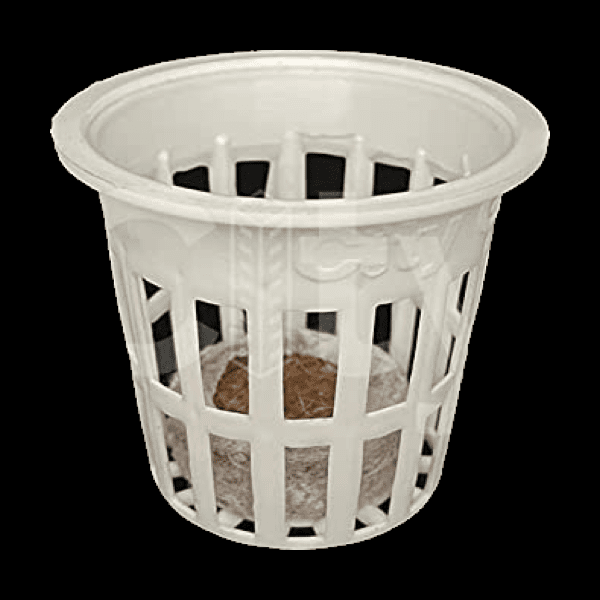
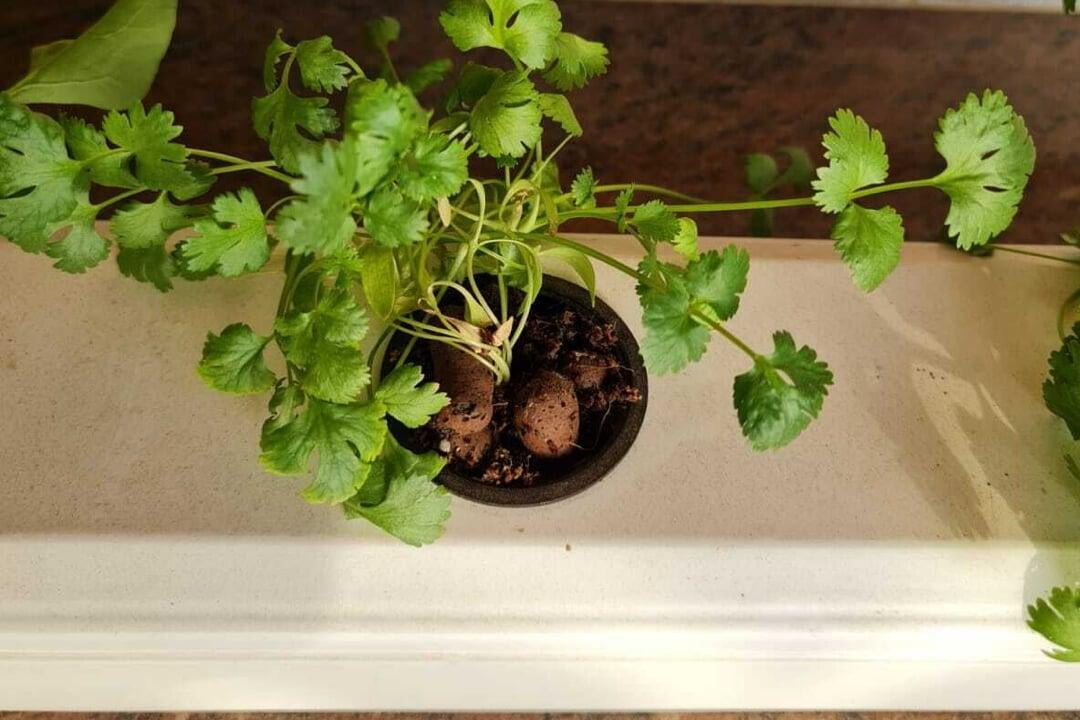
1. Place one seed germination plug in each net pot without removing the outer cover. Then add 30 to 50 ml water to the plug to expand it completely.
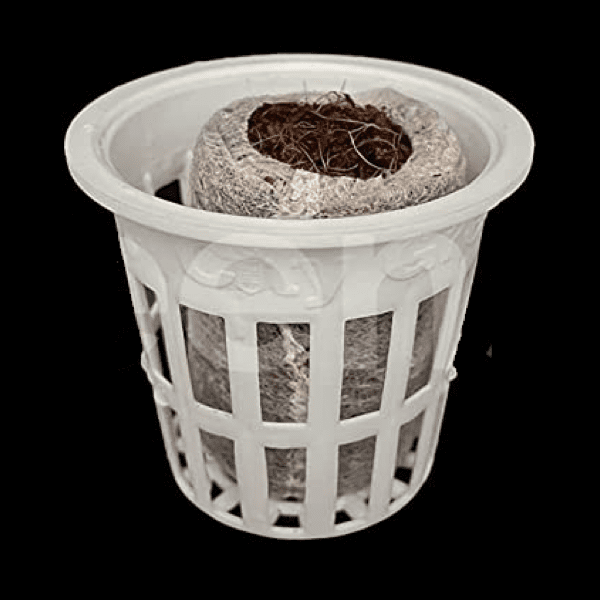
2. Sow 3-4 seeds around 1/2 cm deep in the germination plug. Place the net pots in a tray or plate and keep the tray in a warm and dark place to speed up the germination process.
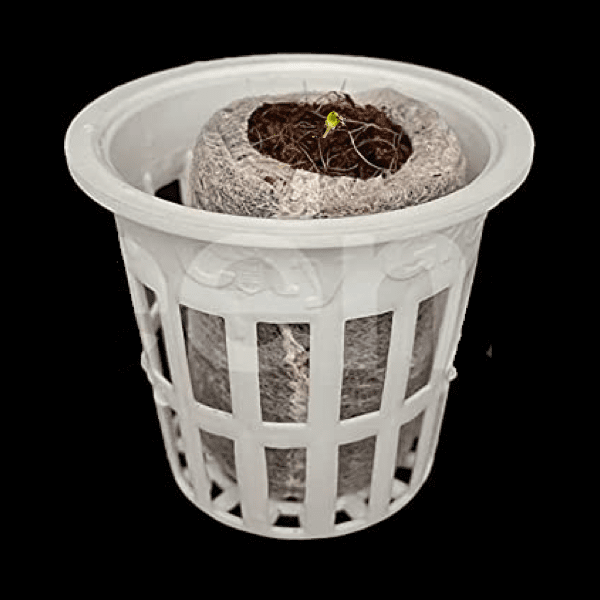
3. Keep the germination plug moist by spraying 5 - 10 ml of water once or twice a day (depending upon the weather in your area). The seeds will start to germinate in 3 to 7 days time.
b. Hardening
- Once the seeds have germinated, start exposing them to morning and evening sun for couple of hours a day. And increase sure the exposure gradually.
- Provide 10 - 15 ml of (regular or nutrient) water to the saplings everyday.
- For next 1 week, keep increasing the sun exposure gradually till the saplings develop 6-8 leaves.
- Once the sapling develops 6-8 leaves it is ready to be transplanted.
NOTE:
- Use only Grow, Flora and Thrive nutrients till the sapling are transplanted.
- Prepare a 500 ml nutrient solution by adding 1 ml each of Grow, Flora and Thrive to 500 ml of water. Use this solution, once on alternate days to water your plants. Rest of the times use plain water.
c. Transplanting

1. Place the entire Dutch Bucket system in an area that gets a good amount of sunlight. (Note that if the sunlight is not adequate the plants will not grow properly)
.
2. Fill the reservoir with 18 litres of water. Add 2 ml of Grow, Flora, Thrive and 2 ml of Blooms, and 1 ml of Nutes per litre of water.
3. Connect the submersible pump plug to a power source directly and switch it on to run the pump for 3-5 minutes to ensure that hydrotons are wet. Make sure to switch off the pump once the water starts to collect back in the reservoir.
4. Transfer the net pots into the dutch buckets.
- Connect the submersible pump to the timer and then the timer to the power source and supply power continuously.
- The timer should always be in Auto mode to run the pump automatically.
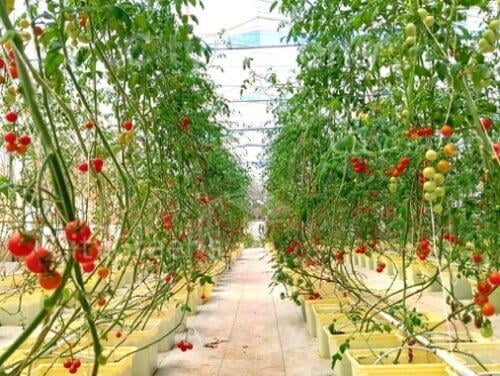
NOTE: Vining crops like tomato, cucumber, and bell peppers grow up to a few meters tall and needs to be supported. You can do this by hanging ropes from a support and guiding the plant to grow along the length of the rope.
d. Monitoring & Maintenance
1. Aeration
2. Reservoir Water Level
Check the water level in the reservoir 2-3 times in a week and make sure the submersible pump is always inside water
3. Nutrient Addition
Add 1 ml of Grow, Flora, & Thrive and 2 ml Blooms, 1 ml Nutes in one liter of water. Use it to top up the reservoir when the water level is low.
4. Monitoring Plants
It's a best practice to monitor the plants health frequently. Regular observation enables early detection of diseases and pest
Common issues you might face while growing.
Common issues you might face while growing.
GERMINATION (LANKY GROWTH)
When the germinated seedlings are not kept under the light their stem becomes thin & long (lanky), eventually the growth is reduced and the plants may die. To avoid this provide sunlight in the mornings and evenings after germination when the sun is not harsh.

HIGH WATER TEMPERATURE
HIGH WATER TEMPERATURE
LACK OF LIGHT
Plants need light for photosynthesis, if the sunlight is not proper the plants becomes lanky (thin & long stem), chlorophyll production is reduced, and plants can turn pale green to yellow to white.

LACK OF DISSOLVED OXYGEN
Insufficient oxygen availability can lead to root suffocation and promote the growth of anaerobic bacteria, potentially causing root diseases and negatively impacting plant health. Make sure to use the air pump regularly to have optimal oxygen levels.
LEAKAGES AT JOINTS

RUNNING SUBMERSIBLE PUMP WITH NO WATER IN RESERVOIR
Always make sure that the submersible pump is inside the water whenever it is operated. Else it can be damaged.

Are you still facing any difficulties?
Are you still facing any difficulties?
No matter what there are times when you might need a helping hand in your growing journey. We are dedicated to providing excellent customer support. Our knowledgeable and friendly support team is available to assist you with any questions or issues you may have. Whether you need help with installation, troubleshooting, or any other aspect of using our product, we are here to help.